みなさんこんにちは、masa です。今日は数ある Java テンプレートの中でも Spring が推奨しているという Thyme leaf(タイムリーフ)を取り上げてみたいと思います。ちなみに Thymeleaf とは植物ハーブのことらしいです。
Thymeleaf の話の前に・・・Spring MVC だと xml ファイルで設定をするのが常ですが、Spring Boot を使うと設定がスクリプトとして書かれ、@EnableAutoConfiguration というアノテーションをつけるだけで設定が自動的に読み込まれます。
まずは、Spring Boot と Spring Boot 用の Thymeleaf ライブラリを Maven からインストールします。
        <dependency>
            <groupId>org.springframework.boot</groupId>
            <artifactId>spring-boot-starter-web</artifactId>
        </dependency>
        <dependency>
            <groupId>org.springframework.boot</groupId>
            <artifactId>spring-boot-starter-thymeleaf</artifactId>
        </dependency>
        <plugins>
            <plugin>
                <groupId>org.springframework.boot</groupId>
                <artifactId>spring-boot-maven-plugin</artifactId>
            </plugin>
        </plugins>
次に、Controller を以下のように実装して、GET を受けられるようにします↓
package jp.cloudear.spring_boot.controller;

import org.springframework.boot.SpringApplication;
import org.springframework.boot.autoconfigure.EnableAutoConfiguration;
import org.springframework.stereotype.Controller;
import org.springframework.ui.Model;
import org.springframework.web.bind.annotation.RequestMapping;
import org.springframework.web.bind.annotation.RequestParam;

/**
 *
 * @author masa
 */
@Controller
@EnableAutoConfiguration
public class App {

    @RequestMapping("/hello")
    public String hello(@RequestParam(value="name", required=false, defaultValue="masa") String name, Model model) {
        model.addAttribute("name", name);
	return "hello";
    }

    public static void main(String[] args) {
        SpringApplication.run(App.class, args);
    }

}
そして、src/main/resources/templates にhello.html を作成します↓
<!DOCTYPE HTML>
<html xmlns:th="http://www.thymeleaf.org">
<head>
    <title>Thymeleaf で出力しますよ</title>
    <meta http-equiv="Content-Type" content="text/html; charset=UTF-8" />
</head>
<body>
    <p th:text="'こんにちは, ' + ${name} + 'さん!'" />
</body>
</html>
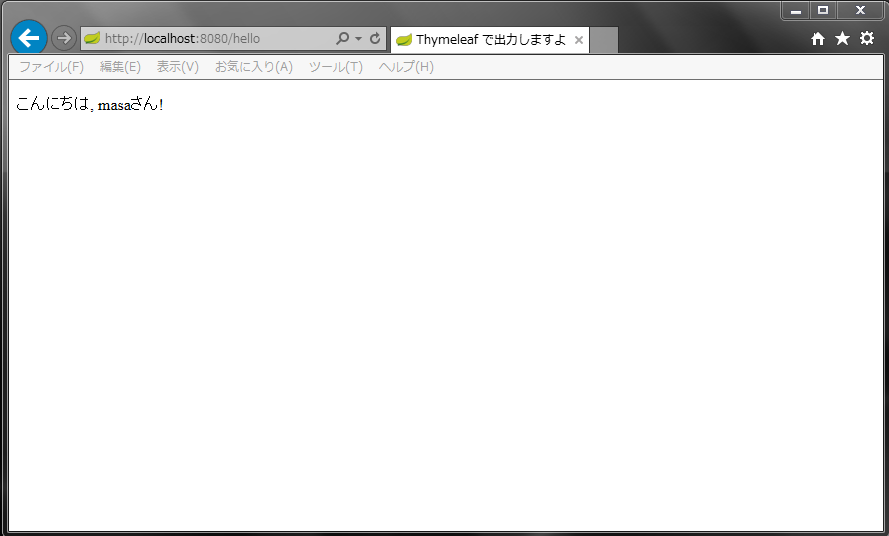
ビルドしたら作った URL にアクセスします↓
http://localhost:8080/hello
そうすると以下のようにページが表示されました。
いかがでしたか?今回は簡単ではありますが、Spring Boot から Thymeleaf を使ってみました。Thymeleaf日本語のサイトもありますので是非チェックしてみてください。